
Preparing your Website for Launch

Once you’ve designed a fabulous new website, it’s time to prep that baby for launch! You can’t keep that greatness all to yourself. Since this part of the process sometimes trips people up, I created a step-by-step guide to ease the frustration. I’ve included images, video tutorials, and Squarespace Support links to walk you through the final stages of setup. Follow the steps below and you’ll be live in no time!!
Step 1: Upgrade to Publish
Before making your website live, you must upgrade from a trial to a paid site.

Select “UPGRADE TO PUBLISH”

Select PLAN

Complete PAYMENT
Note the Circle Member Discount granted from template purchase or Palm & Pine designed site.
Squarespace Support Links
Step 2: Add a Domain
This step will vary based on your current domain status:
You have no domain
You have a domain hosted with another provider (GoDaddy, Bluehost, etc)
You have a domain purchased and hosted through Squarespace

Get or Connect a DOMAIN
Watch the video that correlates with your domain status.
YOU HAVE NO DOMAIN
DOMAIN HOSTED BY DIFFERENT PROVIDER
DOMAIN HOSTED BY SQUARESPACE
Squarespace Support Links
Step 3: Setup Google Workspace
Take your business to the next level by accessing the Google Workspace option available through Squarespace.

Select Google Workspace
Must have domain connected in order to move forward.
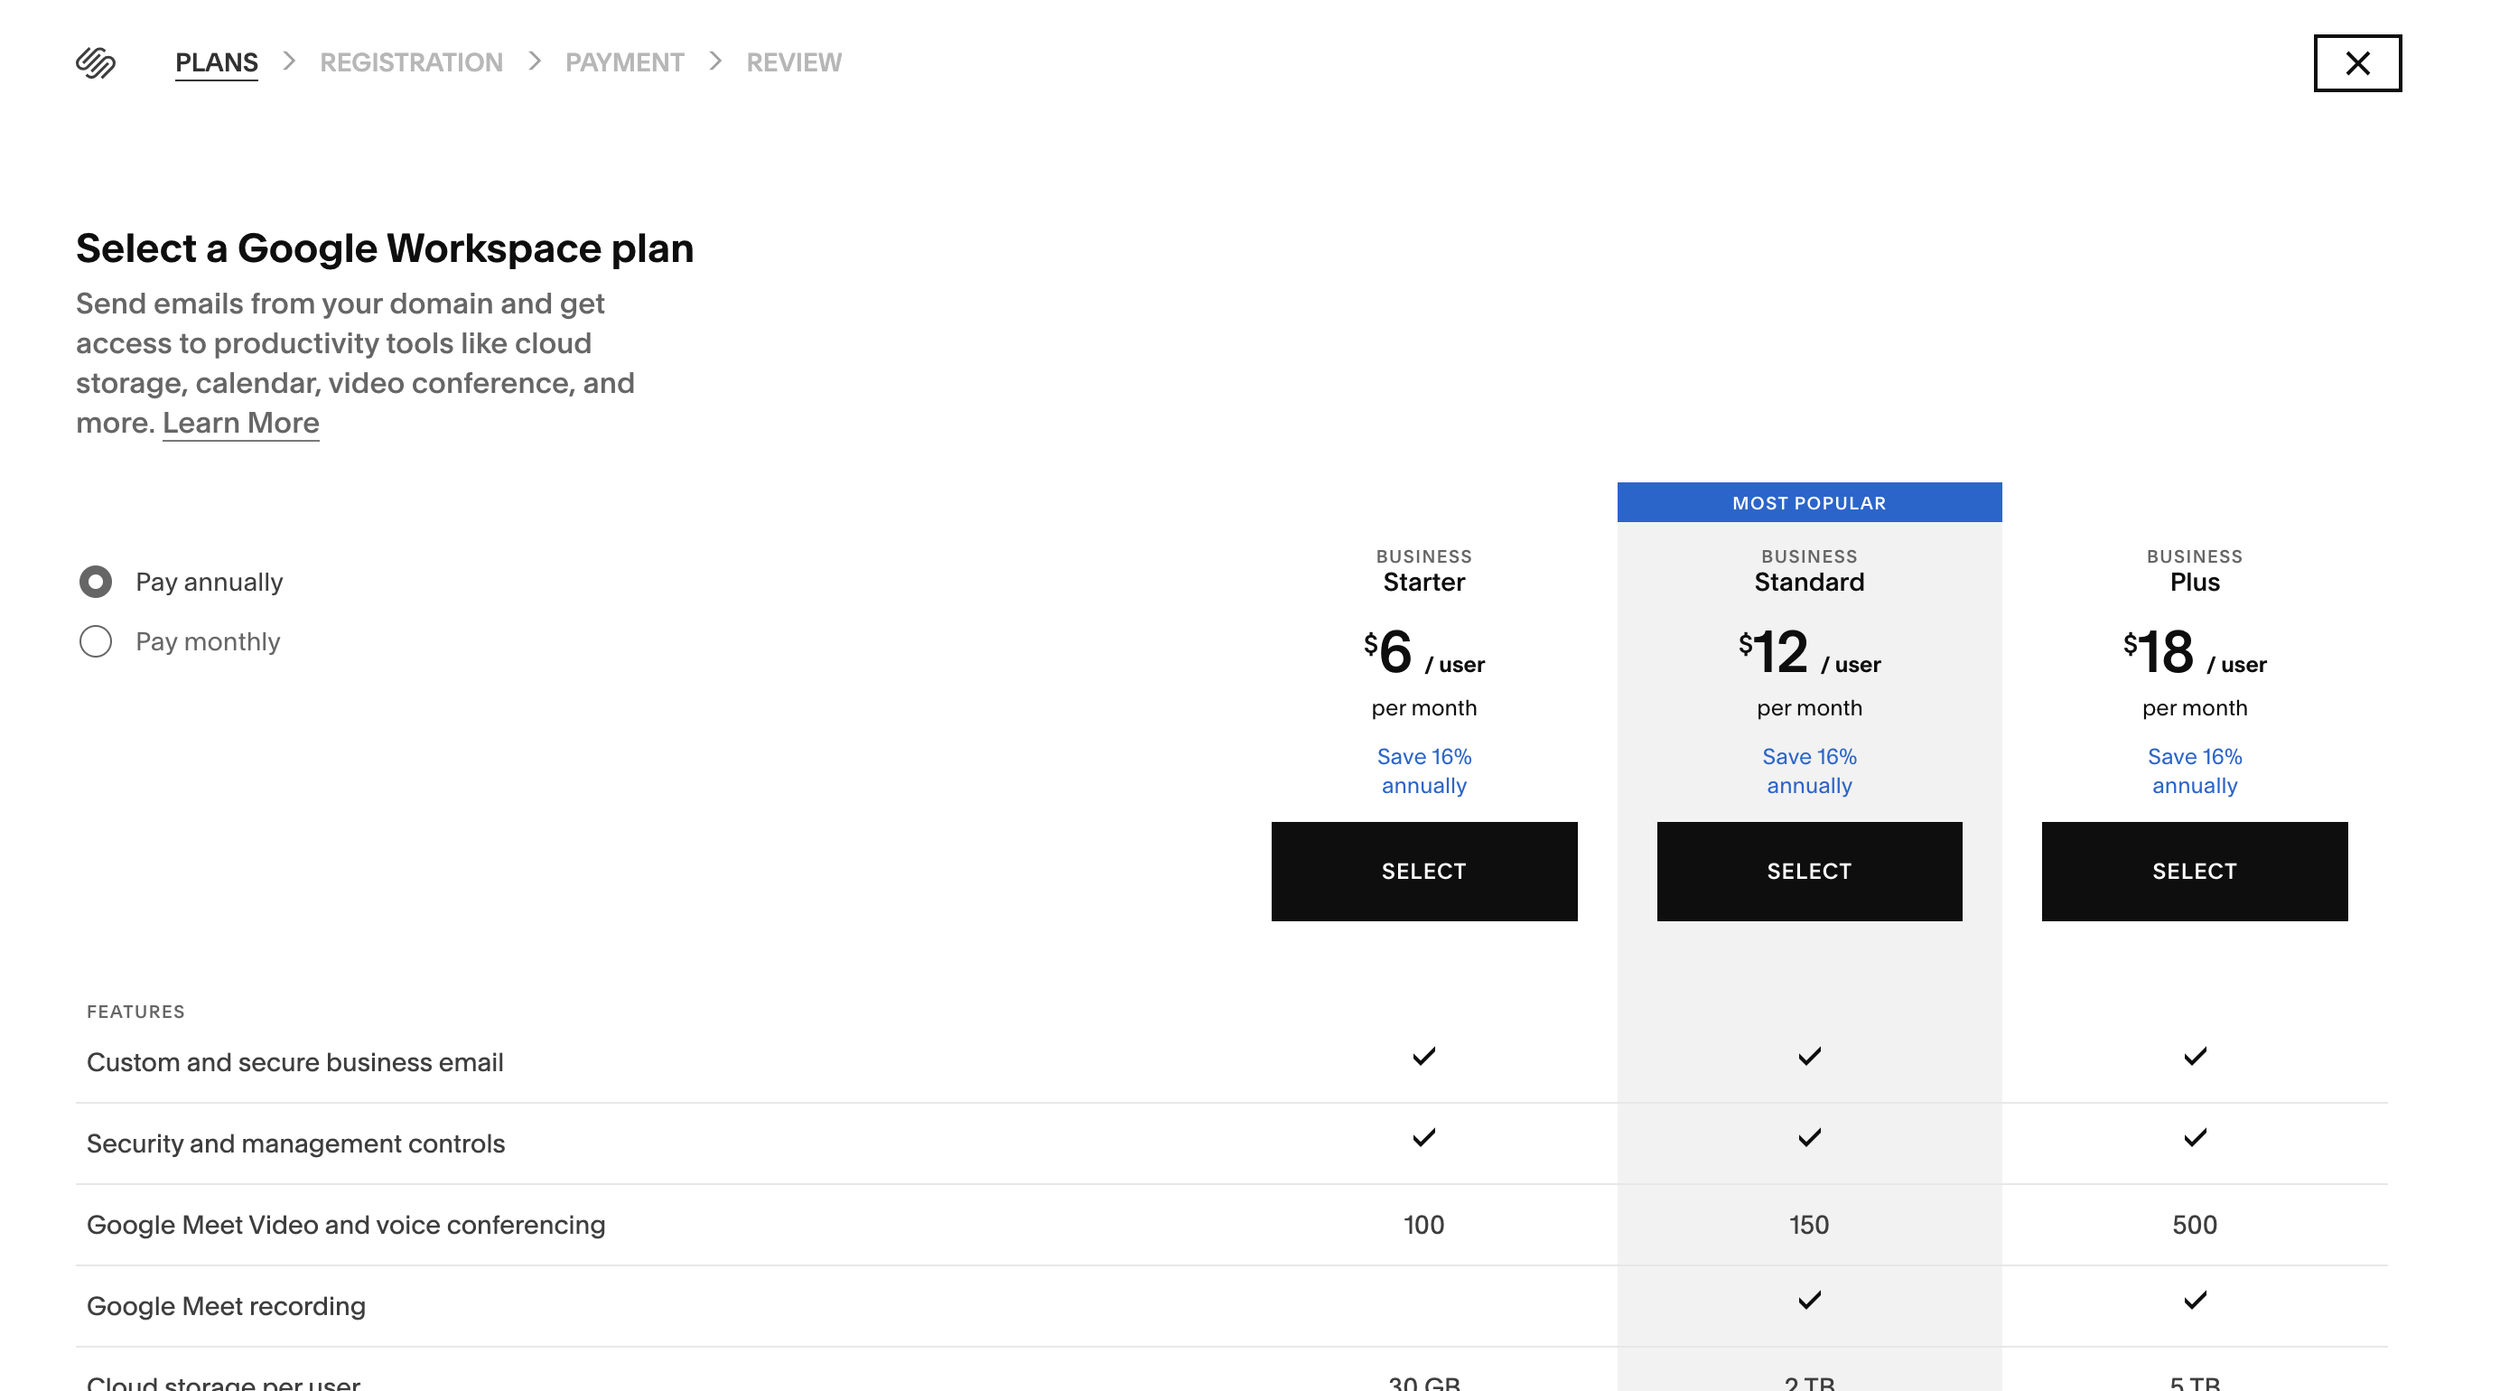
Select PLAN
Continue along with the registration process.
Squarespace Support Links
Google Business Profile
Step 4: Manage Website Settings
Complete the website settings that apply to your business needs. Don’t forget to add Favicon and Social Sharing images for a professional flare!

SQUARESPACE HELP CENTER
Use this link for general Squarespace Support
Congratulations!! You’ve crossed all the t’s and dotted the i’s and can now share your masterpiece!! A website is a work of art, so be proud of this accomplishment! And if you feel like bragging about your awesomeness, you can ALWAYS send me a message (hello@leahlanningdesign.com), and I’ll pump you up 😊
